With easyfeedback and Zapier, survey results can be shared directly into a web-based instant messaging service like Slack.
In this post, I’ll show you how to do this using our Net Promoter Score template.
Requirements for the instructions:
1. easyfeedback account
2. zapier account
3. Slack account
Procedure:
Create and activate surveys with easyfeedback, create a channel in Slack and set up the link between easyfeedback and Slack via Zapier.
Table of Contents:
A. Create and activate survey in easyfeedback
B. Create a channel in Slack
C. Connect survey with Slack via Zapier
D. Addition: Add conditions to Zaps with filters
A. Create and activate survey in easyfeedback
1. Log in
First, please log in to easyfeedback or if you don’t have an easyfeedback account yet, then you can create one here:
2. Select survey template
After you have logged in to easyfeedback, click on “+ Create new survey“.

Choose one of the more than 80 ready-made templates.
For my example, I have selected the survey template for the “Net Promoter Score“.

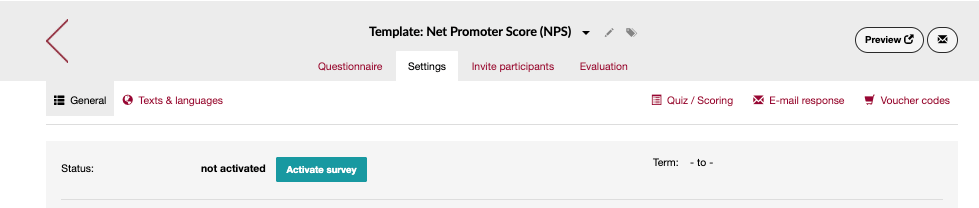
3. Activate survey
After you have created the survey template, go to the questionnaire editor and activate it under “Settings“.
4. Take part in the survey yourself
After activating the survey, you must participate once yourself. This is necessary because you need at least one complete participation with results so that we can later configure the link between the survey and Slack via Zapier.
B. Create a channel in Slack
After you have logged in to Slack, click on Channels in the “Home” area. Next, select “Create” and follow the instructions.

Note that the channel must be configured as “Public” so that the Zapier bot can later send the results properly as a message.
C. Connect survey with Slack via Zapier
Once we have activated the Net Promotor Score survey template in easyfeedback, the next step is to configure the connection between easyfeedback and Hubspot via Zapier.
I will show you how this works below:
1. Connect easyfeedback with Zapier
Before you set up an automated workflow for data transfer with Zapier, you first need to connect your easyfeedback account with Zapier. To do this, open your account data in easyfeedback and click on the “Integration” tab.
Next, click on the “Connect Zapier” button.

You will then be redirected to Zapier. Log in to Zapier with your account, or if you don’t have an account yet, create a new one. Follow the steps there to allow Zapier access to your easyfeedback account and connect the systems.
2. Create Zap and define workflow
Within Zapier, you can now create a “Zap” and use it to define the workflow/action. To do this, click on “Create Zap” and search for the easyfeedback app in Zapier:

Next, select the trigger, i.e. the trigger of the workflow. To do this, select the trigger event “New Results“, then your easyfeedback account and finally the template for the Net Promotor Score.
You then only need to test the trigger you have created. The test of the trigger can only work if the survey had at least one complete participation.
3. Define action
Once you have tested the trigger, the next step is to define the action that is to take place. To do this, select “Slack” as the app to send the data from the survey to.

Once you have selected Slack as your app, select the action you want to take in your app and connect the systems.
As mentioned at the beginning, we want the participants’ results from the questionnaire to be shared in the designated Slack channel.
In this case, we need to select the “Send Channel Message” action.

In the following settings, you can select the channel in Slack and the data fields to be shared for the “Message Text” area.

4. Test the connection
As soon as you have made all the settings for filling the results in Slack through Zapier, you can test the connection in the next step.

If the test was successful, you will see the shared results from the survey in the Sack Channel.

D. Addition: Add conditions to Zaps with filters
Zapier makes it possible to define certain conditions before triggering a trigger. This is made possible using the filter function provided by Zapier.


Let’s take our NPS survey as an example of the function.
You can use the filter option to define the following condition before executing the action:
Only the results of my NPS survey should be shared in the Slack group if the participants indicated a willingness to recommend below 7 (all dissatisfied customers) and gave a reason for their rating.
With Zapier’s filter function, the whole thing would look like this:

We have now successfully configured the condition we defined.