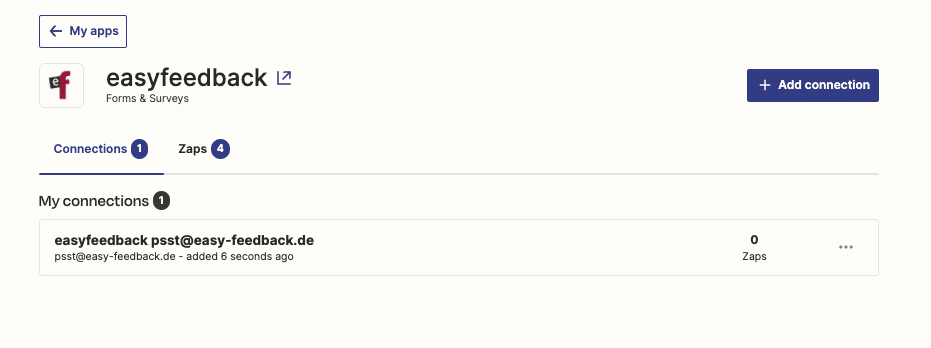
easyfeedback offers you the possibility not only to evaluate the survey results, but also to process them automatically via the web service “Zapier” with a tool of your choice.
The advantage:
With Zapier, you can automate actions and workflows between different web applications to save time on daily manual tasks.
So if you want to send the results from an online questionnaire directly to a customer relationship management tool like Hubspot or Pipedrive, for example, you can use Zapier to create a connection between easyfeedback and the respective CRM tool without programming.
And how to create a connection between Zapier and easyfeedback is what I’ll show you in this article.
Requirements for the tutorial:
1. easyfeedback-Account
2. Zapier-Account
Method 1: Connect easyfeedback with Zapier via a Zap
1. Log in to Zapier
Before you set up an automated workflow for data transfer with Zapier, you must first connect your easyfeedback account with Zapier. To do this, open your account data in easyfeedback and click on the “Integration” tab.
Next, click on the “Connect Zapier” button.
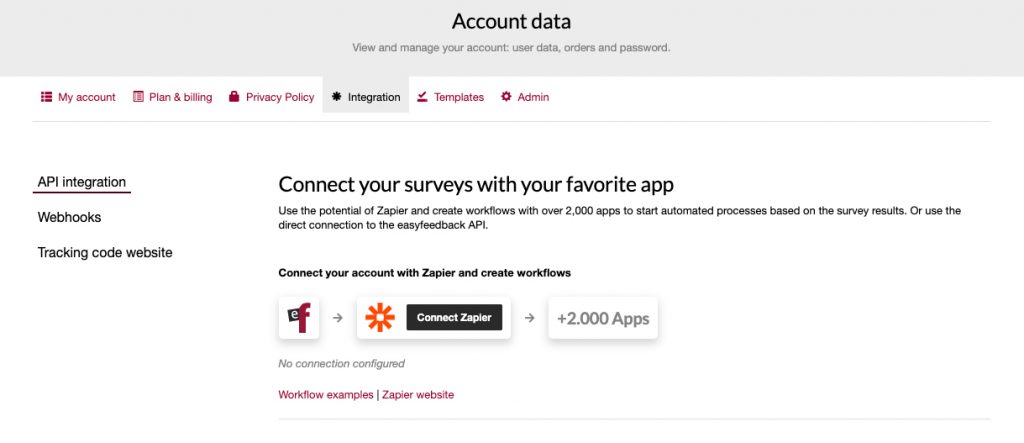
You will then be redirected to Zapier. Log in to Zapier with your Zapier account, or if you don’t have a Zapier account yet, create a new one.
2. Create a Zap
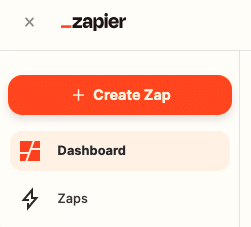
After you have logged into Zapier, click on the “+ Create Zap” button in the overview.
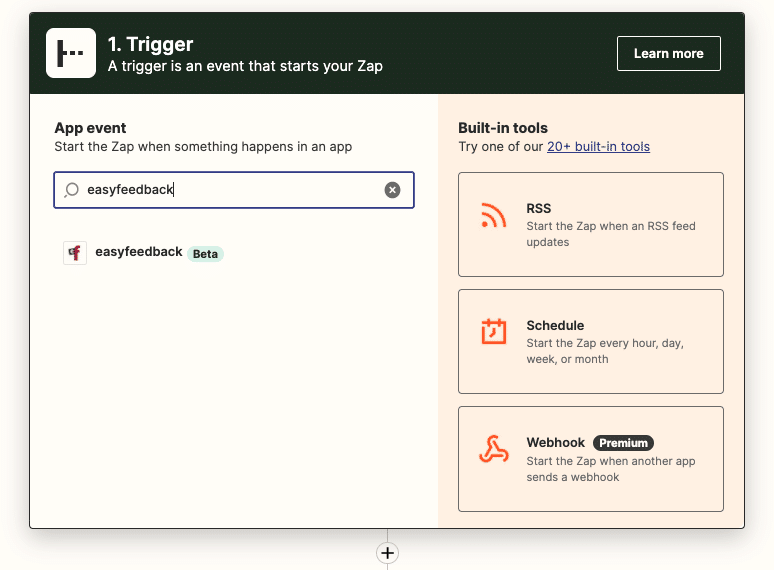
Now look for the easyfeedback app in the “Trigger” section to tell Zapier that the automation we created should start as soon as in easyfeedback, an action we defined in Zapier (follows in the next step) happens.
Next, select the trigger, that is, the trigger of the automated process. To do this, select the “New Results” trigger event.
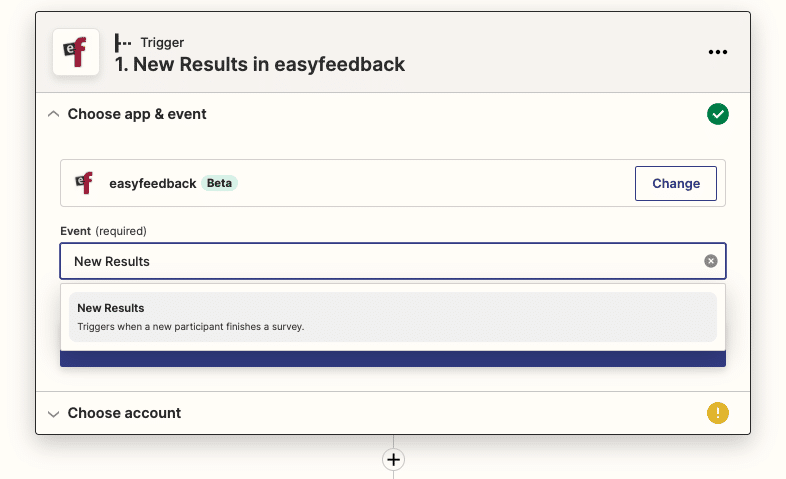
With “New Results” we tell Zapier that the automation should start as soon as a new participant has taken part in a survey or quiz with easyfeedback, for example.
In the next step we have to establish the connection between easyfeedback and Zapier.
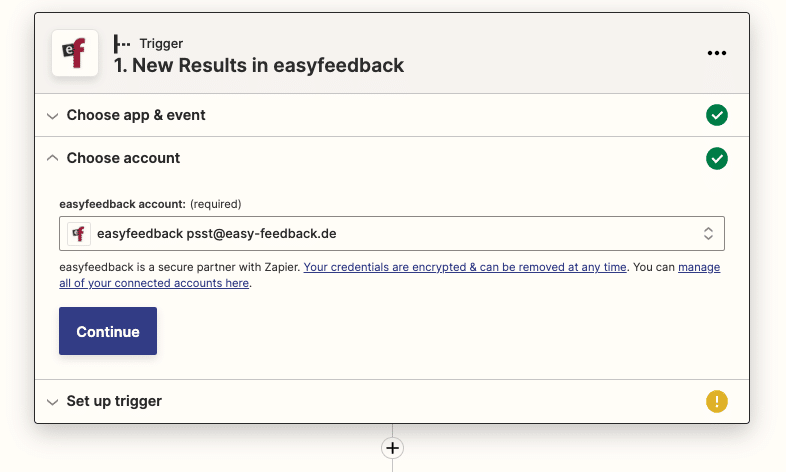
To do this, click on “+ Connect a new account” under “Choose account“.

A second window opens with the easyfeedback login screen. After logging in, your easyfeedback account is now connected to Zapier and you can now select it.
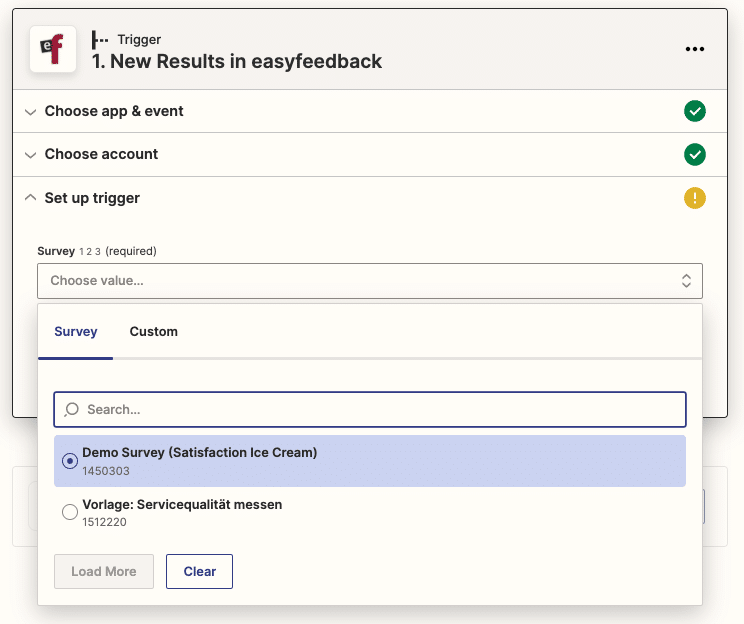
Next, select a survey at “Set up trigger” from which you want to automatically pass the results to another tool.
After that you only have to test the created trigger. The test of the trigger can only work if the survey or quiz had at least one fully completed participation.
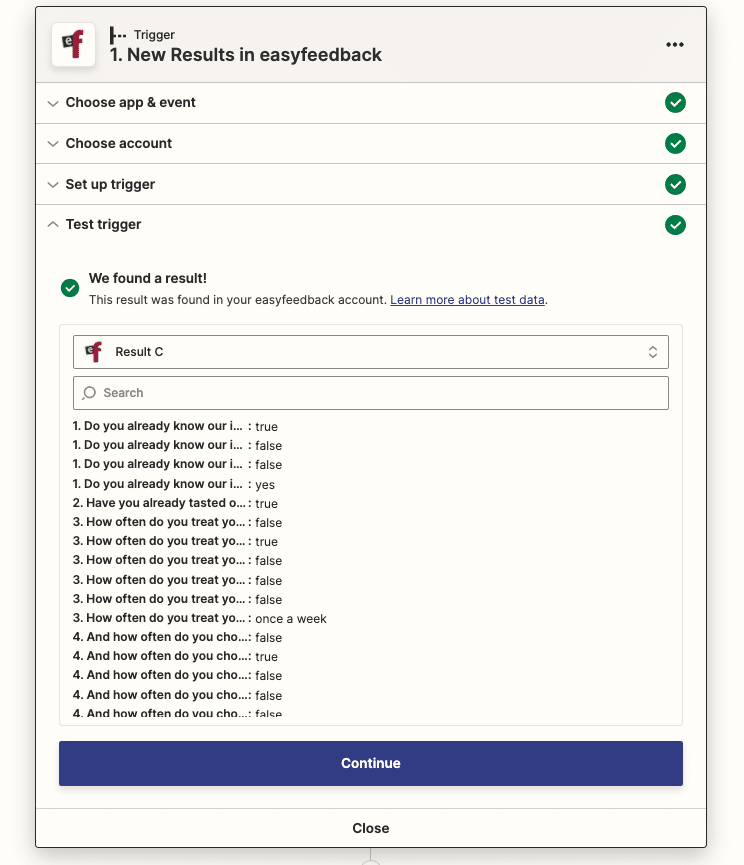
If the test fails, there is the following solution option:
If you do not have any participants for your survey yet, then become a participant. After you have participated in your survey, wait a few minutes and test the Tigger again. After that the test should be successful.
Method 2: Connect easyfeedback with Zapier via My Apps
As described in method 1, the first step is to log in to Zapier or create a new Zapier account.
After you have logged into Zapier, click on “My Apps” on the overview page.
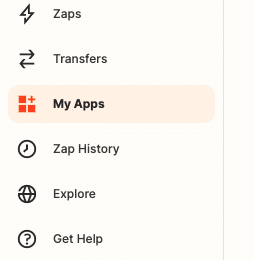
In “My Apps“, click on “+ Add connection“.

Search for “easyfeedback” and select the easyfeedback app.

A new window will then open with the login window to easyfeedback. After logging into easyfeedback, easyfeedback is linked to Zapier.
