Asking and conducting the survey is the first step in measuring customer experiences and making decisions based on them.
The results display and filters in easyfeedback give you a good opportunity to evaluate the results and gain insights into the customer’s perspective. Nevertheless, it is often necessary to transfer the results or customer data updates to your own CRM system in order to store the data with the customer on the one hand and to enrich the survey data with your own data and perform further evaluations on the other.
With easyfeedback you have two options for transferring the results to your CRM system:
1. easyfeedback API
With the API provided by easyfeedback, you can connect directly to the easyfeedback system and read out the data from the results and save them on your computer.
You can find the documentation for using the easyfeedback API within your “Account data” in the tab “Integration”.
2. Sending the data via Zapier.com
Zapier is an intermediary that transfers data from one system to another or triggers automatic workflows based on actions. This gives you the ability to trigger an action on each new participant in your survey.
The other advantage is that the configuration of the workflows can be defined and changed simply with a click.
With the following steps you connect your easyfeedback account to Zapier and send your survey results to your CRM system:
1. Connect easyfeedback with Zapier
Before you set up a workflow with Zapier, you must first connect your easyfeedback account with Zapier. To do so, open your “Account data” in easyfeedback and click on the tab “Integration”.
Next, click on the button “Connect Zapier“.
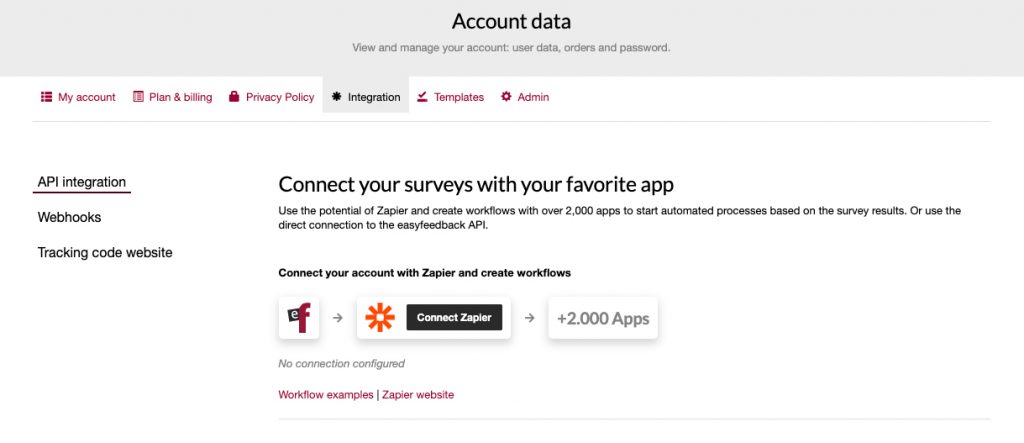
You will now be redirected to Zapier. Log in to Zapier with your account, or if you don’t have an account yet, create a new one.
Follow the steps and allow Zapier to access your easyfeedback account and to connect the systems.
2. Create Zap and define workflow
Within Zapier, you can now create a so called “Zap” and use it to define workflows and actions. Click on “Create Zap” and search for the easyfeedback app:
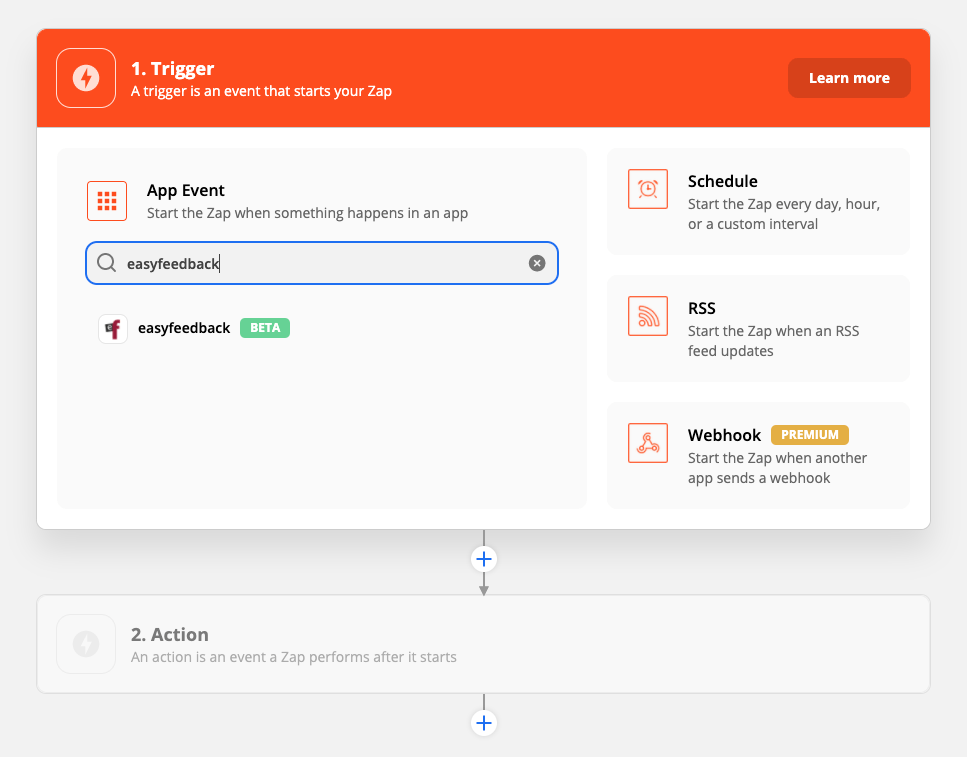
Next, define the trigger. In order to do so, select the trigger event “New Results” and click on “Continue“. Then select your easyfeedback account and finally the survey from which you want to transfer the data:
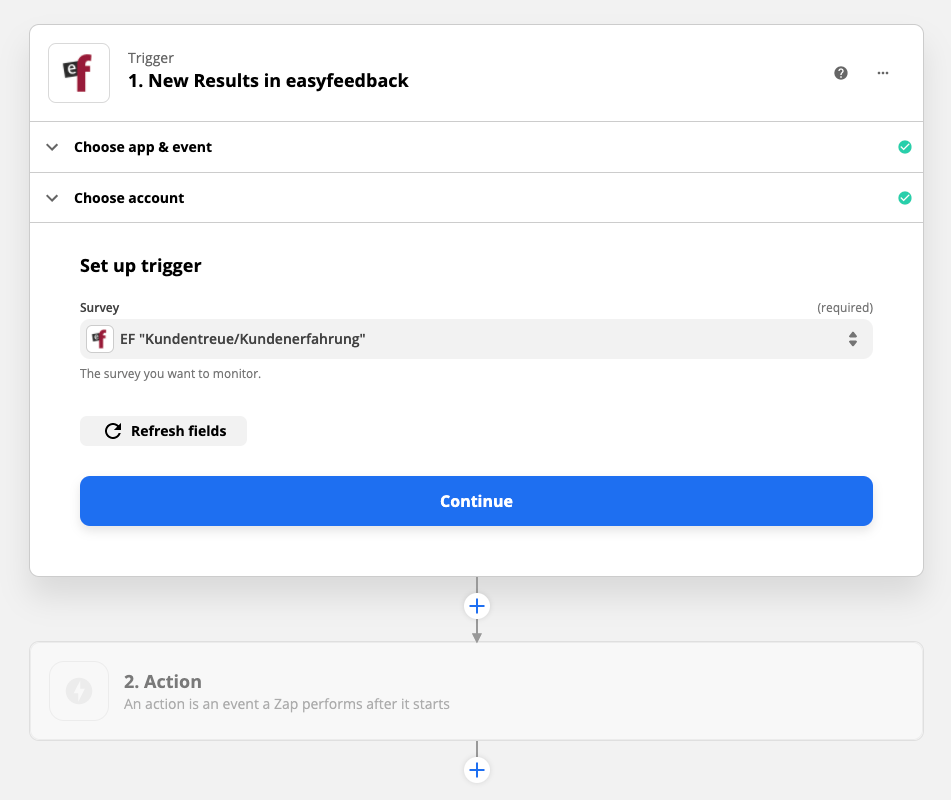
3. Define action
After you have tested the trigger, defining the action that should take place is the next step. This is done by selecting the app to which or with which the data is to be sent:
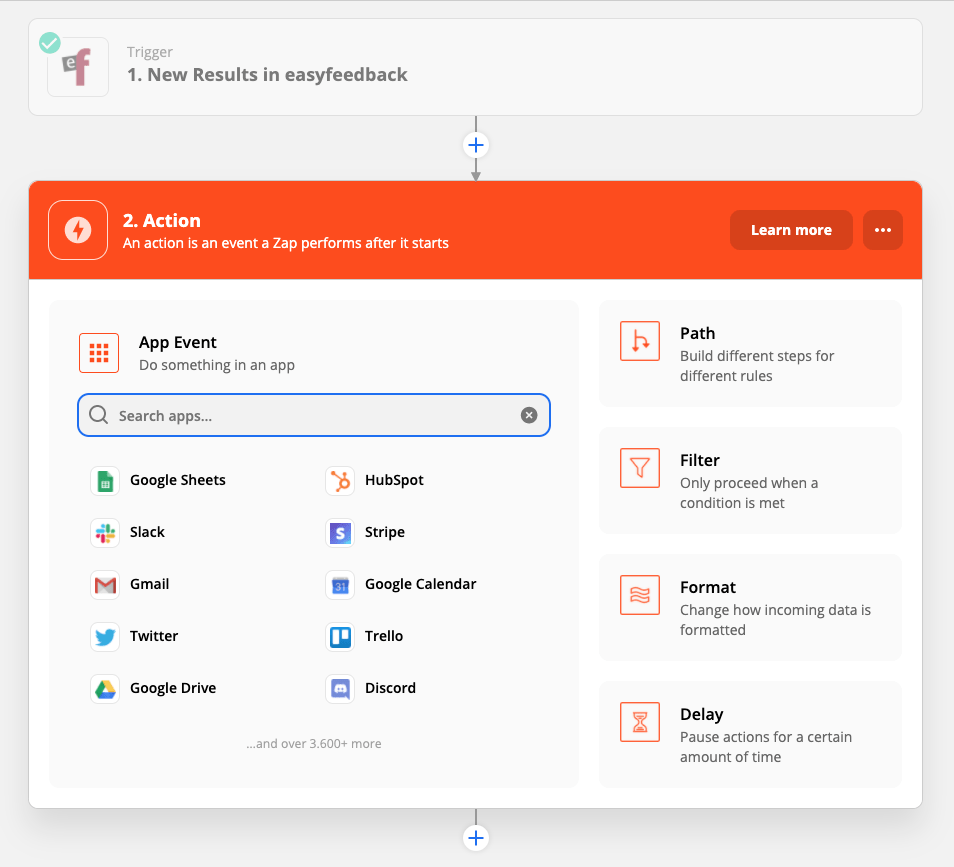
Once you have selected your app, select the action that should occur in your app and connect the systems.
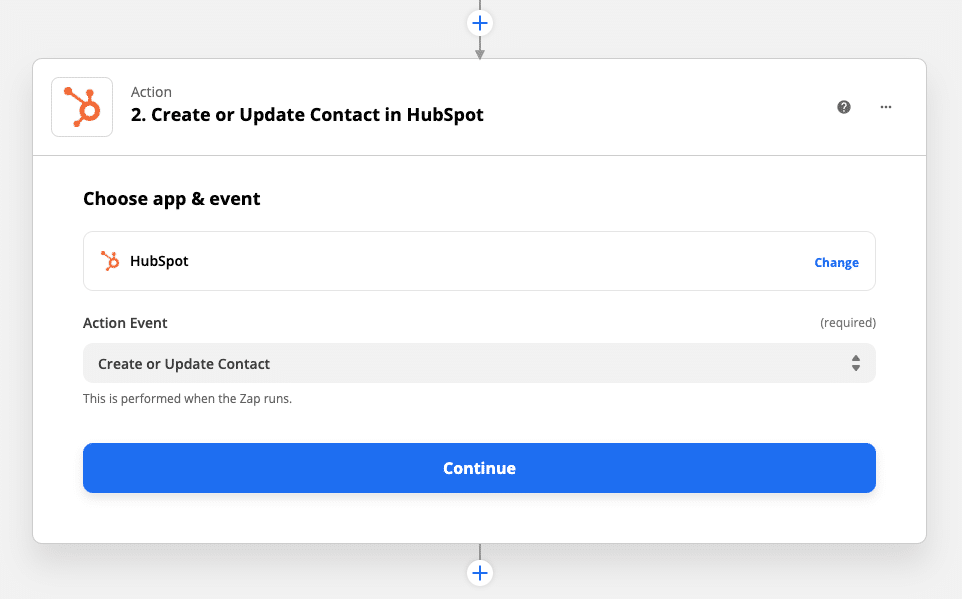
In the subsequent settings, you can define the action to be performed in your CRM system. E.g. updating contact data, expanding contact data, changing a status and much more… Just try it out.
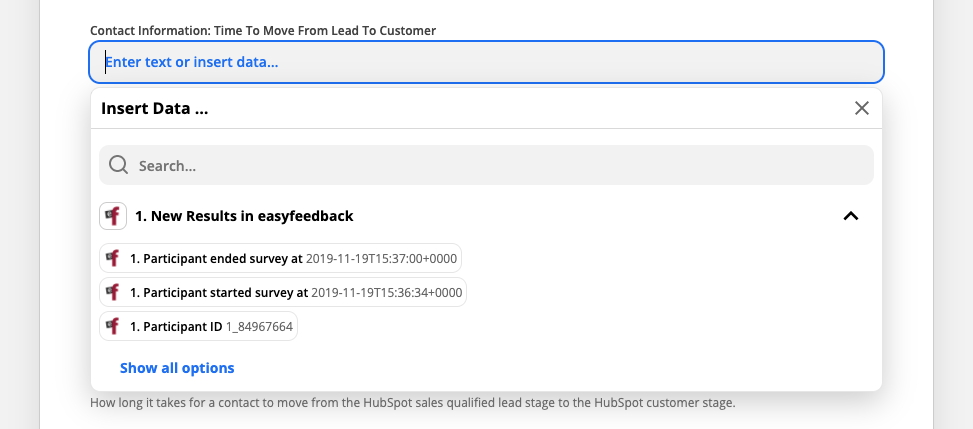
4. Test connection
Once you have made all the settings, you can test the connection. You can do this by opening the relevant survey and taking part yourself as a test. Once the participation is complete, switch to your CRM system and check whether the desired action was executed or not.
If the action was not executed, first check within Zapier if the Zap was configured without errors. If this is the case, look for the activity log within your Zap. Using this, you can see if the Zap was activated by your test.
When running your test within Zapier, be aware of any sending time limits or delays.
